

A ukulele chord diagram is a visual map of your fretboard that shows you exactly where to place your fingers to play a chord. It represents a small section of the neck, with vertical lines for strings and horizontal lines for frets, and uses dots to mark where each finger goes. The sections below break down every part of the diagram so you can read any chord at a glance.
What do the lines and numbers in a ukulele chord diagram mean?
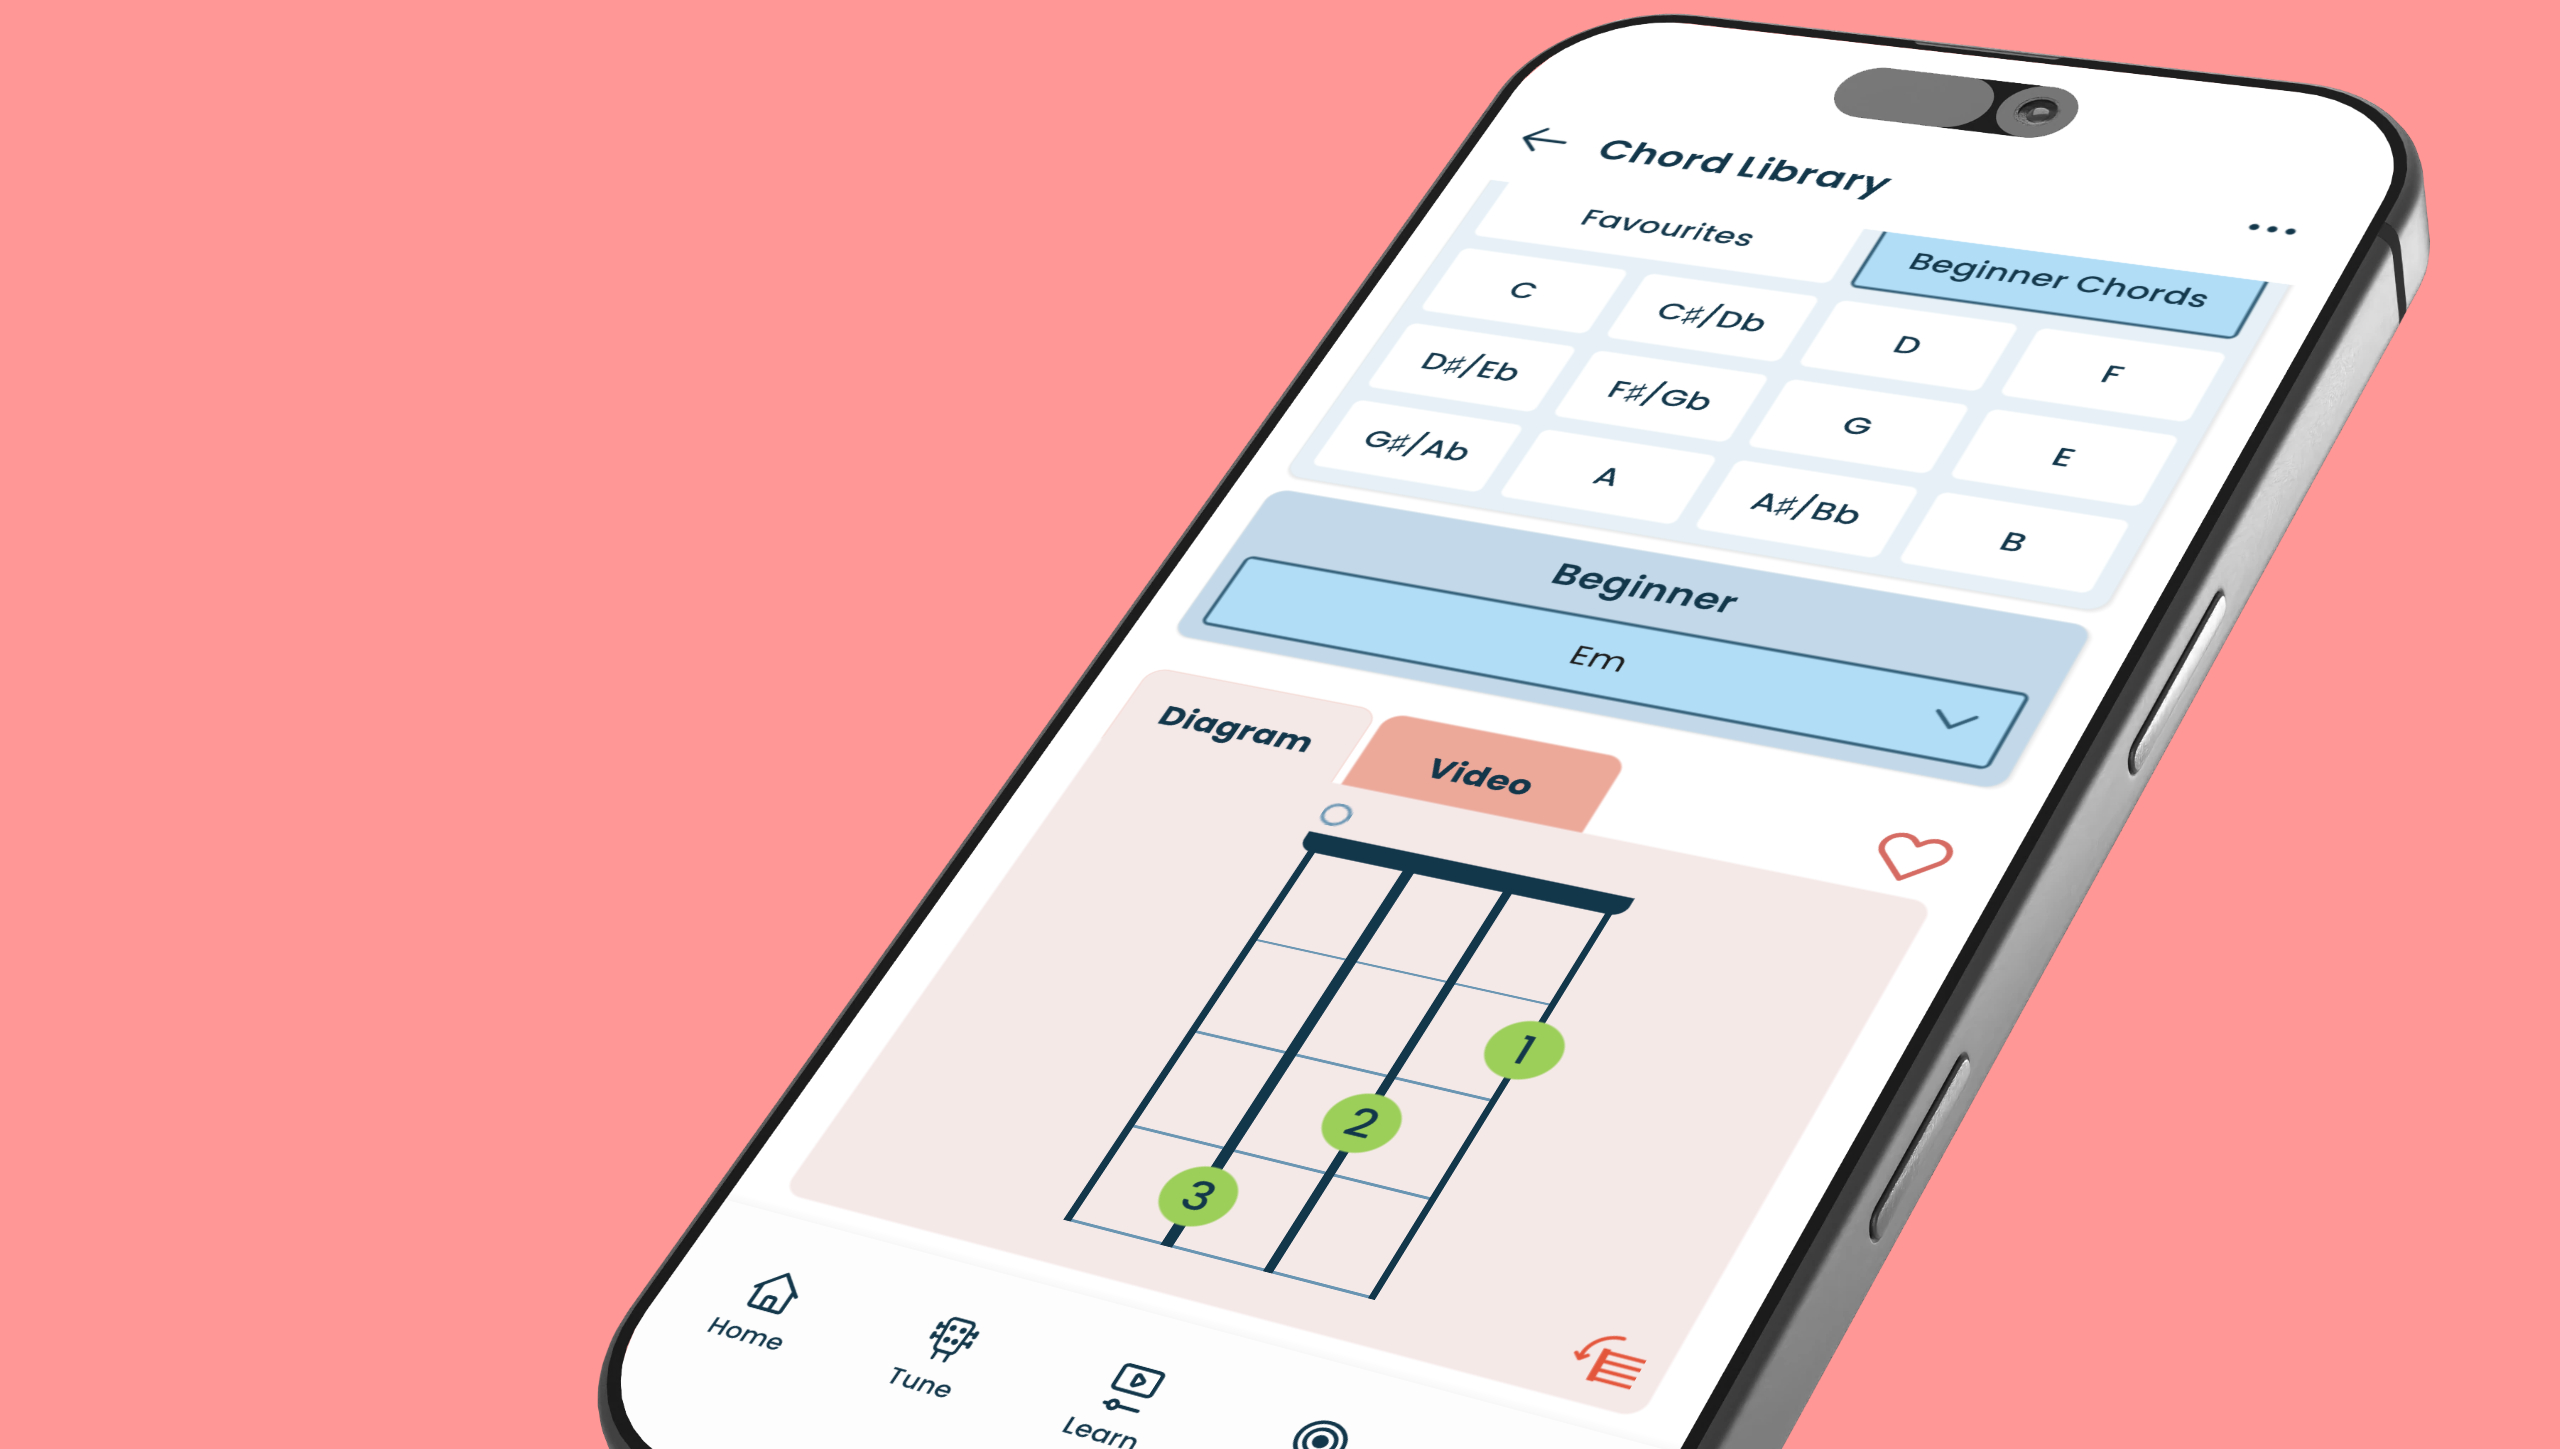
In a ukulele chord diagram, vertical lines represent the four strings and horizontal lines represent the frets. Filled dots on the grid show exactly where to press a string down. Numbers inside or below those dots indicate which finger to use — 1 for index, 2 for middle, 3 for ring, and 4 for pinky.
The four vertical lines map directly to the four strings of your ukulele. Reading left to right, they represent the G, C, E, and A strings — the same order as standard tuning (G-C-E-A) when you hold the instrument in playing position.
The horizontal lines are the frets. The space between the first and second horizontal lines is the first fret, the space between the second and third is the second fret, and so on. When a dot sits in one of those spaces, that’s where your fingertip should press the string down.
An open circle above a string means you play that string without pressing it — let it ring open. If you ever see an X above a string, skip it entirely when you strum. On the ukulele, X markings are rare since most chords use all four strings, but it’s worth knowing what one means when you spot it.
How do you hold your fingers to match a chord diagram?
To match a chord diagram, press the fingertip of each numbered finger onto the string and fret shown, keeping your knuckles curved so your finger lands on its tip rather than its pad. Your thumb rests lightly on the back of the neck for support, and your fretting hand — the one pressing the strings — should feel relaxed, not tense.
Think of it like a gentle pinch: your fingertip on the front of the neck, your thumb on the back. The closer your finger sits to the fret wire (without sitting on top of it), the cleaner the note will sound. Pressing right in the middle of the fret space is a common starting point, but edging toward the fret wire usually clears up any buzzing.
This can feel a little awkward at first, especially when multiple fingers need to land at the same time. That’s completely normal. I like to think of it as parking each car in its own space — you don’t need to get them all in at once, just guide them there one by one until the shape starts to feel familiar.

What does the nut line at the top of a chord diagram mean?
The thick horizontal line at the very top of a ukulele chord diagram represents the nut — the small notched piece at the top of the neck where the strings begin. When you see this thick line, it tells you the diagram is showing the first few frets of the neck, starting at the very bottom of the fretboard.
Most beginner chords sit in this open position, close to the nut, which is why the thick line appears so often in chord diagrams for beginners. It’s your anchor — it tells you exactly where on the neck you are.
For chords played higher up the neck, the nut line disappears and a fret number appears beside the diagram instead. That number tells you which fret to start from. So if you see a “5” next to the top of the diagram, your first finger starts at the fifth fret, not the first. Once you know what the nut line signals, navigating any chord diagram becomes much more straightforward.
What’s the difference between a chord diagram and a chord chart?
A ukulele chord diagram shows the fingering for a single chord — it’s a picture of the fretboard with dots marking where your fingers go. A chord chart, on the other hand, shows the sequence of chords for an entire song, typically displayed above the song’s lyrics to show when each chord change happens.
Both are essential tools, and they work together. The chord diagram answers “how do I play this chord?” The chord chart answers “when do I play it?”
When you’re learning a new song, you’ll usually encounter both. The chord chart lays out the song’s structure — verse, chorus, bridge — with chord names sitting above the words where the change occurs. If you don’t know one of those chords yet, that’s where the fingering diagram comes in: look it up, learn the shape, then go back to the chart and play it in context.
The Kala App’s chord library keeps 200+ fingering diagrams in one place, so when a chord chart throws an unfamiliar shape at you, the diagram is only a tap away.
How do you use chord diagrams to learn a full song?
To use chord diagrams to learn a full song, start by identifying every chord in the song’s chord chart, then look up the fingering diagram for each one. Learn each shape individually before putting them in sequence. Once the shapes feel comfortable on their own, practice moving between them slowly — two chords at a time — before playing through the whole song.
Here’s a simple sequence that works well for beginners:
- Pull up the song’s chord chart and note every chord name that appears.
- Look up the fingering diagram for any chord you don’t already know.
- Practice each new shape until you can land it cleanly without looking at the diagram.
- Work on the transitions — move between the first two chords until the switch feels smooth, then add the next one.
- Play through the full song slowly, using the chord chart to guide your timing.
The tricky part isn’t usually the individual shapes — it’s the transitions. Chord changes are a bit like musical chairs: keep your eye on where you’re going, not where you are. The more you practice moving between two specific shapes, the faster your fingers find their way.
If you want ready-made chord charts and fingering diagrams in one place, the song library pairs both together for 2,000+ songs — so you can filter by chords you already know and start playing songs you actually love from day one.
Now get out there and play something. You’ve got this.