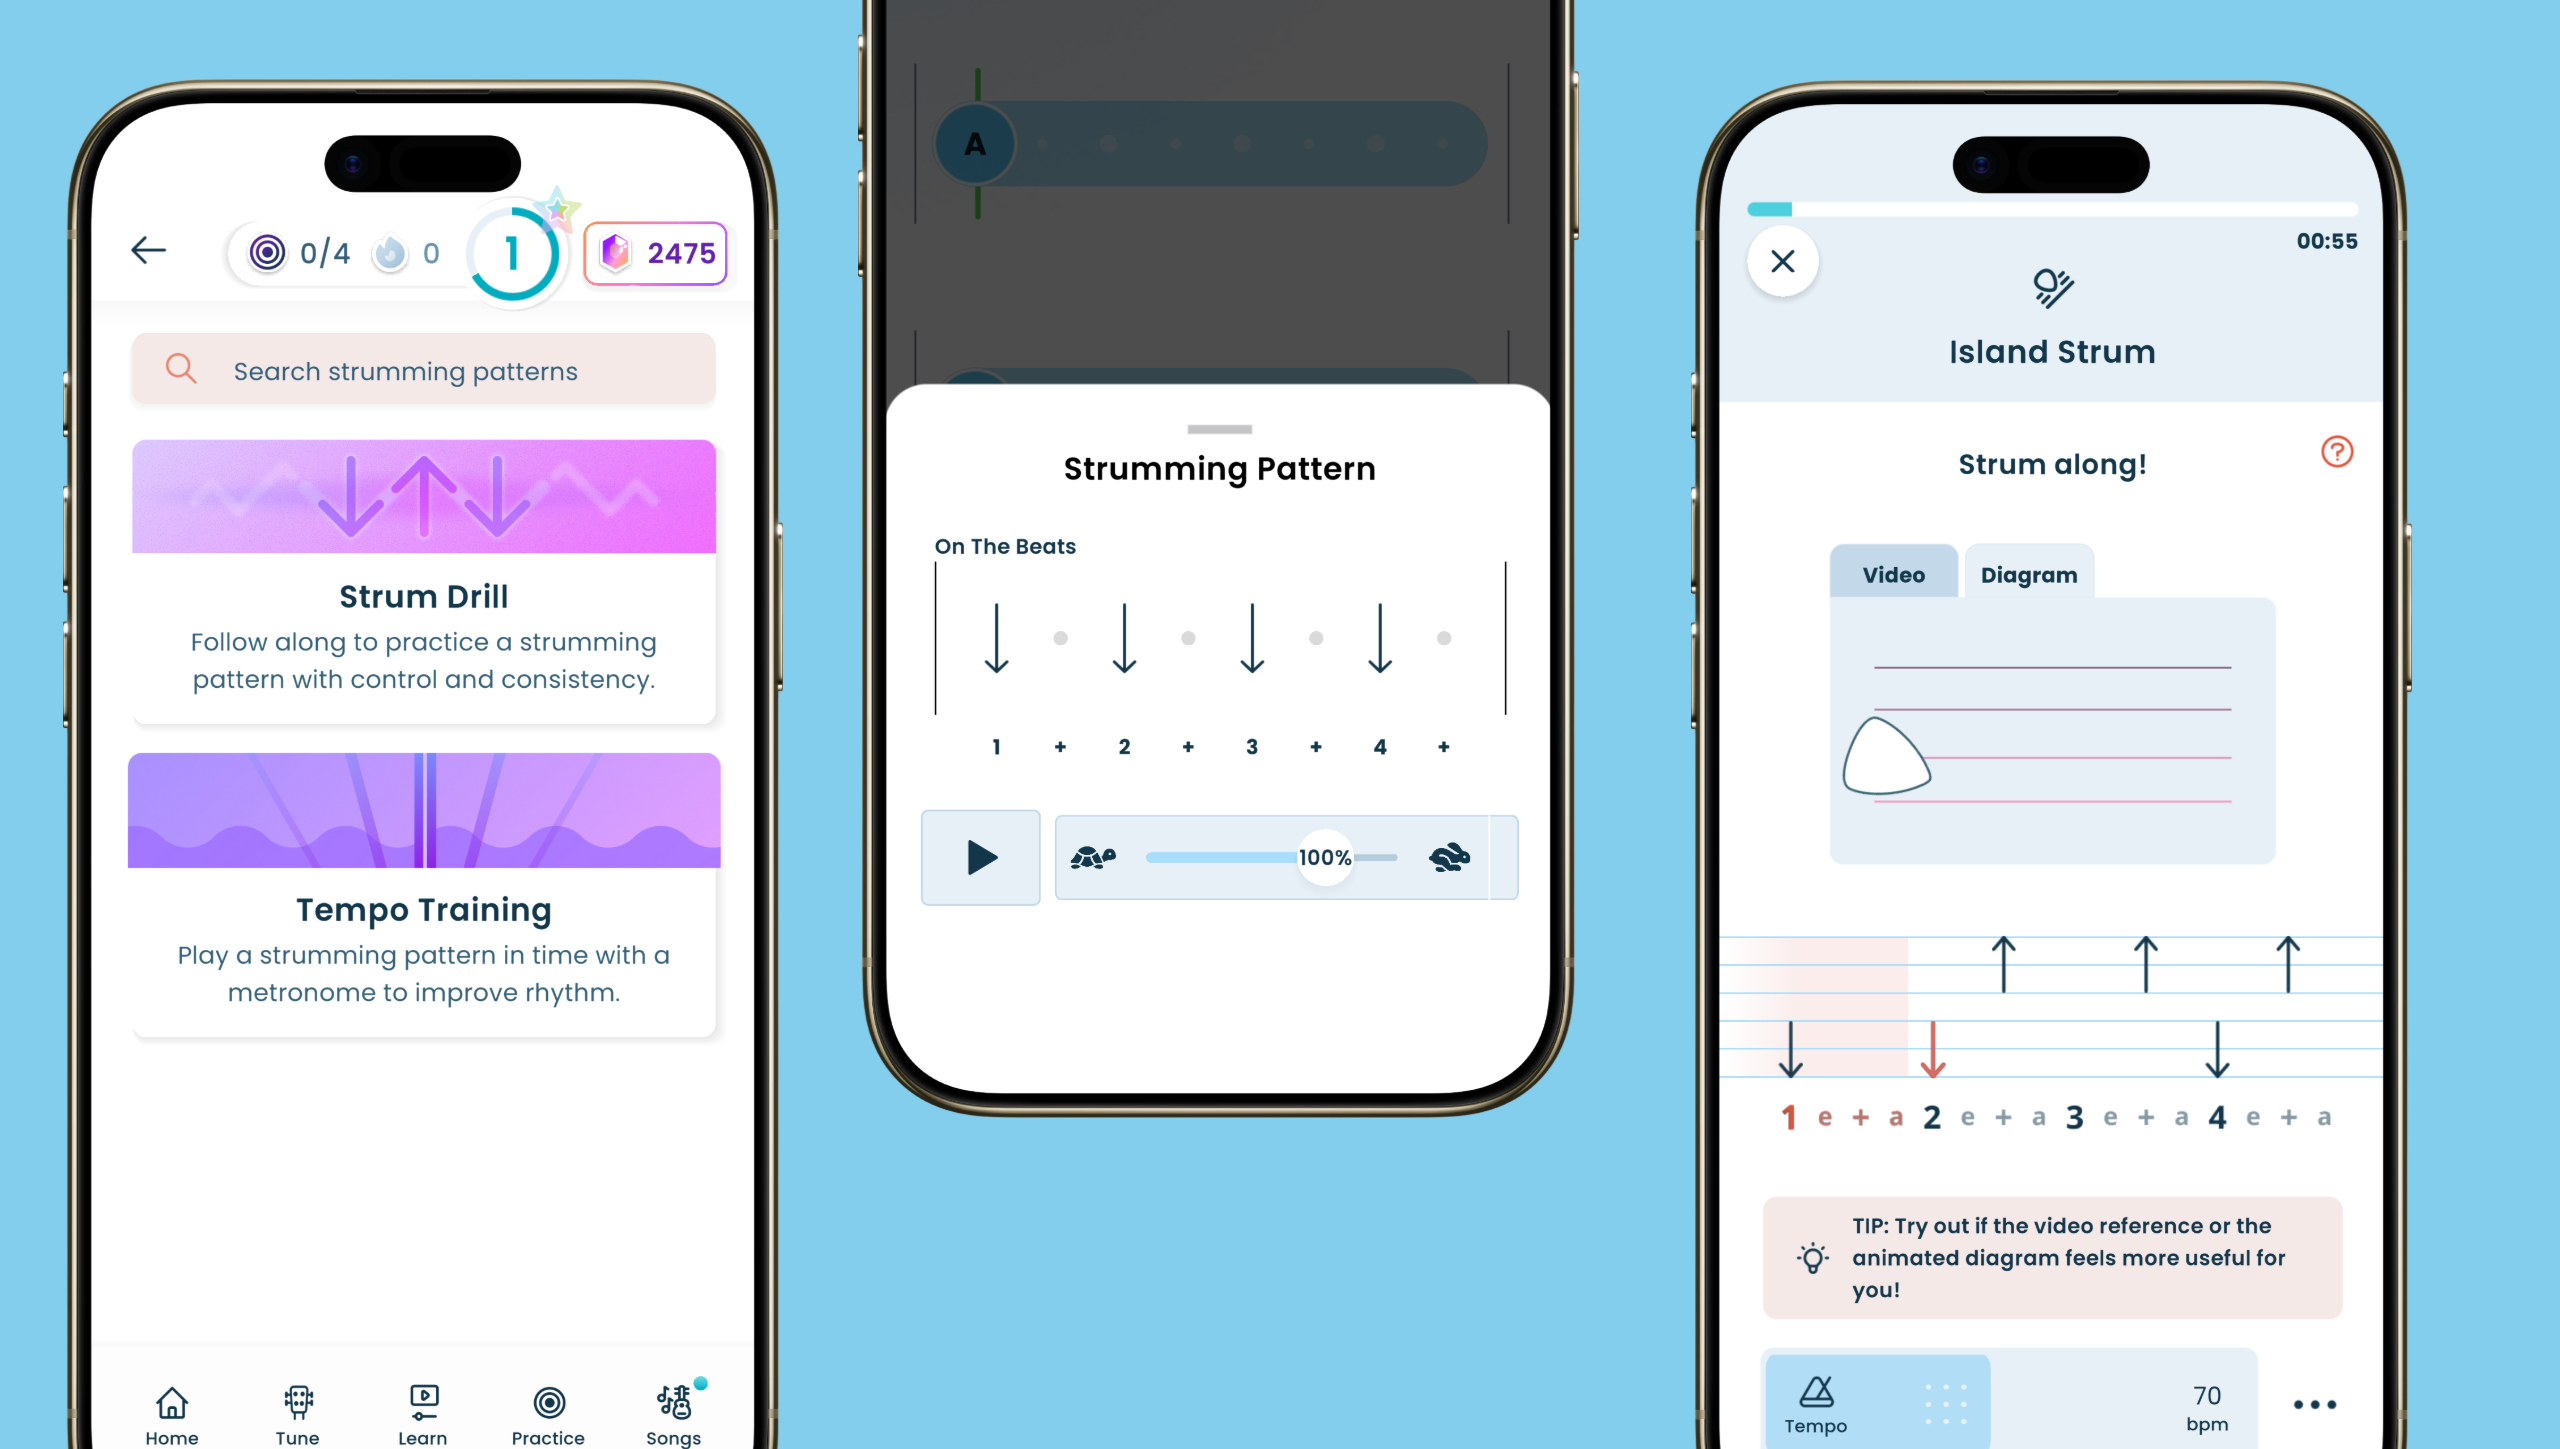
Choppy strumming happens when your hand stops moving between strums. That single habit breaks the rhythm and makes even correct chords sound mechanical. The fix is not a new technique; it is retraining the hand to keep moving continuously, like a pendulum, whether it is hitting the strings or not. The sections below unpack exactly why choppiness happens and what to do about each cause.
What Makes Ukulele Strumming Sound Choppy?
Ukulele strumming sounds choppy when the strumming hand stops or pauses between strokes instead of moving continuously. The hand should sweep down and up in a constant motion, like a pendulum, even when it is not hitting the strings. The moment that motion stops, the rhythm collapses and the sound becomes uneven and stilted.
Most beginners focus almost entirely on chord shapes and treat strumming as an afterthought. The result is technically correct chords played in a way that sounds mechanical. The real issue is that strumming is not just about hitting strings; it is about maintaining a consistent physical motion that keeps time.
There are five common culprits behind choppy strumming technique:
- The hand stops between strums instead of continuing through the air on missed beats
- The wrist is locked or stiff, so the whole arm moves rather than the wrist hinging freely
- The fretting hand is pressing too hard, creating tension that travels up the arm and disrupts the strumming motion
- Chord changes are late, causing a gap in sound that breaks the rhythm
- The tempo is too fast for where the player currently is, forcing rushed and uneven strokes
A useful practice: flatten your fretting hand across all the strings to mute them, then strum the pattern. Removing the chord complexity entirely lets you focus on whether the strumming hand is actually moving the way it should. UkuLenny calls this muted-strings practice, and it is one of the fastest ways to isolate what is going wrong.
How Does Wrist Tension Affect Your Strumming Rhythm?
Wrist tension is one of the most common causes of choppy strumming. When the wrist is stiff, the motion comes from the elbow or the whole arm instead of a free hinge at the wrist. This produces heavy, uneven strokes that are hard to control and even harder to keep in time.
Good strumming technique uses the wrist as the pivot point. Think of it like flicking water off your fingers: loose, relaxed, and coming from the wrist rather than the shoulder. The index finger (nail side down on the downstroke, flesh side up on the upstroke) sweeps across the strings with just enough contact to produce sound. The strings do not need to be hit hard to vibrate.
If your wrist feels tense before you start, shake out your hand for a few seconds. Let it go completely loose. Then start strumming from that relaxed position. The motion should feel almost lazy compared to what most beginners expect. A light touch produces a cleaner, more even tone than a heavy one, and it is far easier to keep in rhythm.
Is Your Fretting Hand Making Strumming Harder?
Pressing too hard with the fretting hand is an overlooked cause of choppy strumming. When you grip the neck tightly or push the strings down with more force than necessary, the tension spreads through your arm and disrupts the relaxed motion your strumming hand needs. The two hands are connected, and stiffness in one creates stiffness in the other.
The fix is simpler than it sounds: use only as much pressure as it takes to produce a clean note. Try playing a chord and gradually releasing pressure until the note starts to buzz, then add just enough back to clear it up. That threshold is all you need. Players often discover they have been using two or three times the necessary force without realising it.
A good song to test this is Chasing Cars by Snow Patrol (key of A, chords A, D, and E, around 104 BPM). The chord changes in that song are very slow, which means you spend long stretches on a single chord. That extended time on one shape makes it easy to notice whether your fretting hand is tensing up, because there is nothing else to distract you. If your strumming sounds choppy even on those long single-chord sections, the problem is almost certainly in the hands rather than the chord changes.
Why Do Chord Changes Make Strumming Fall Apart?
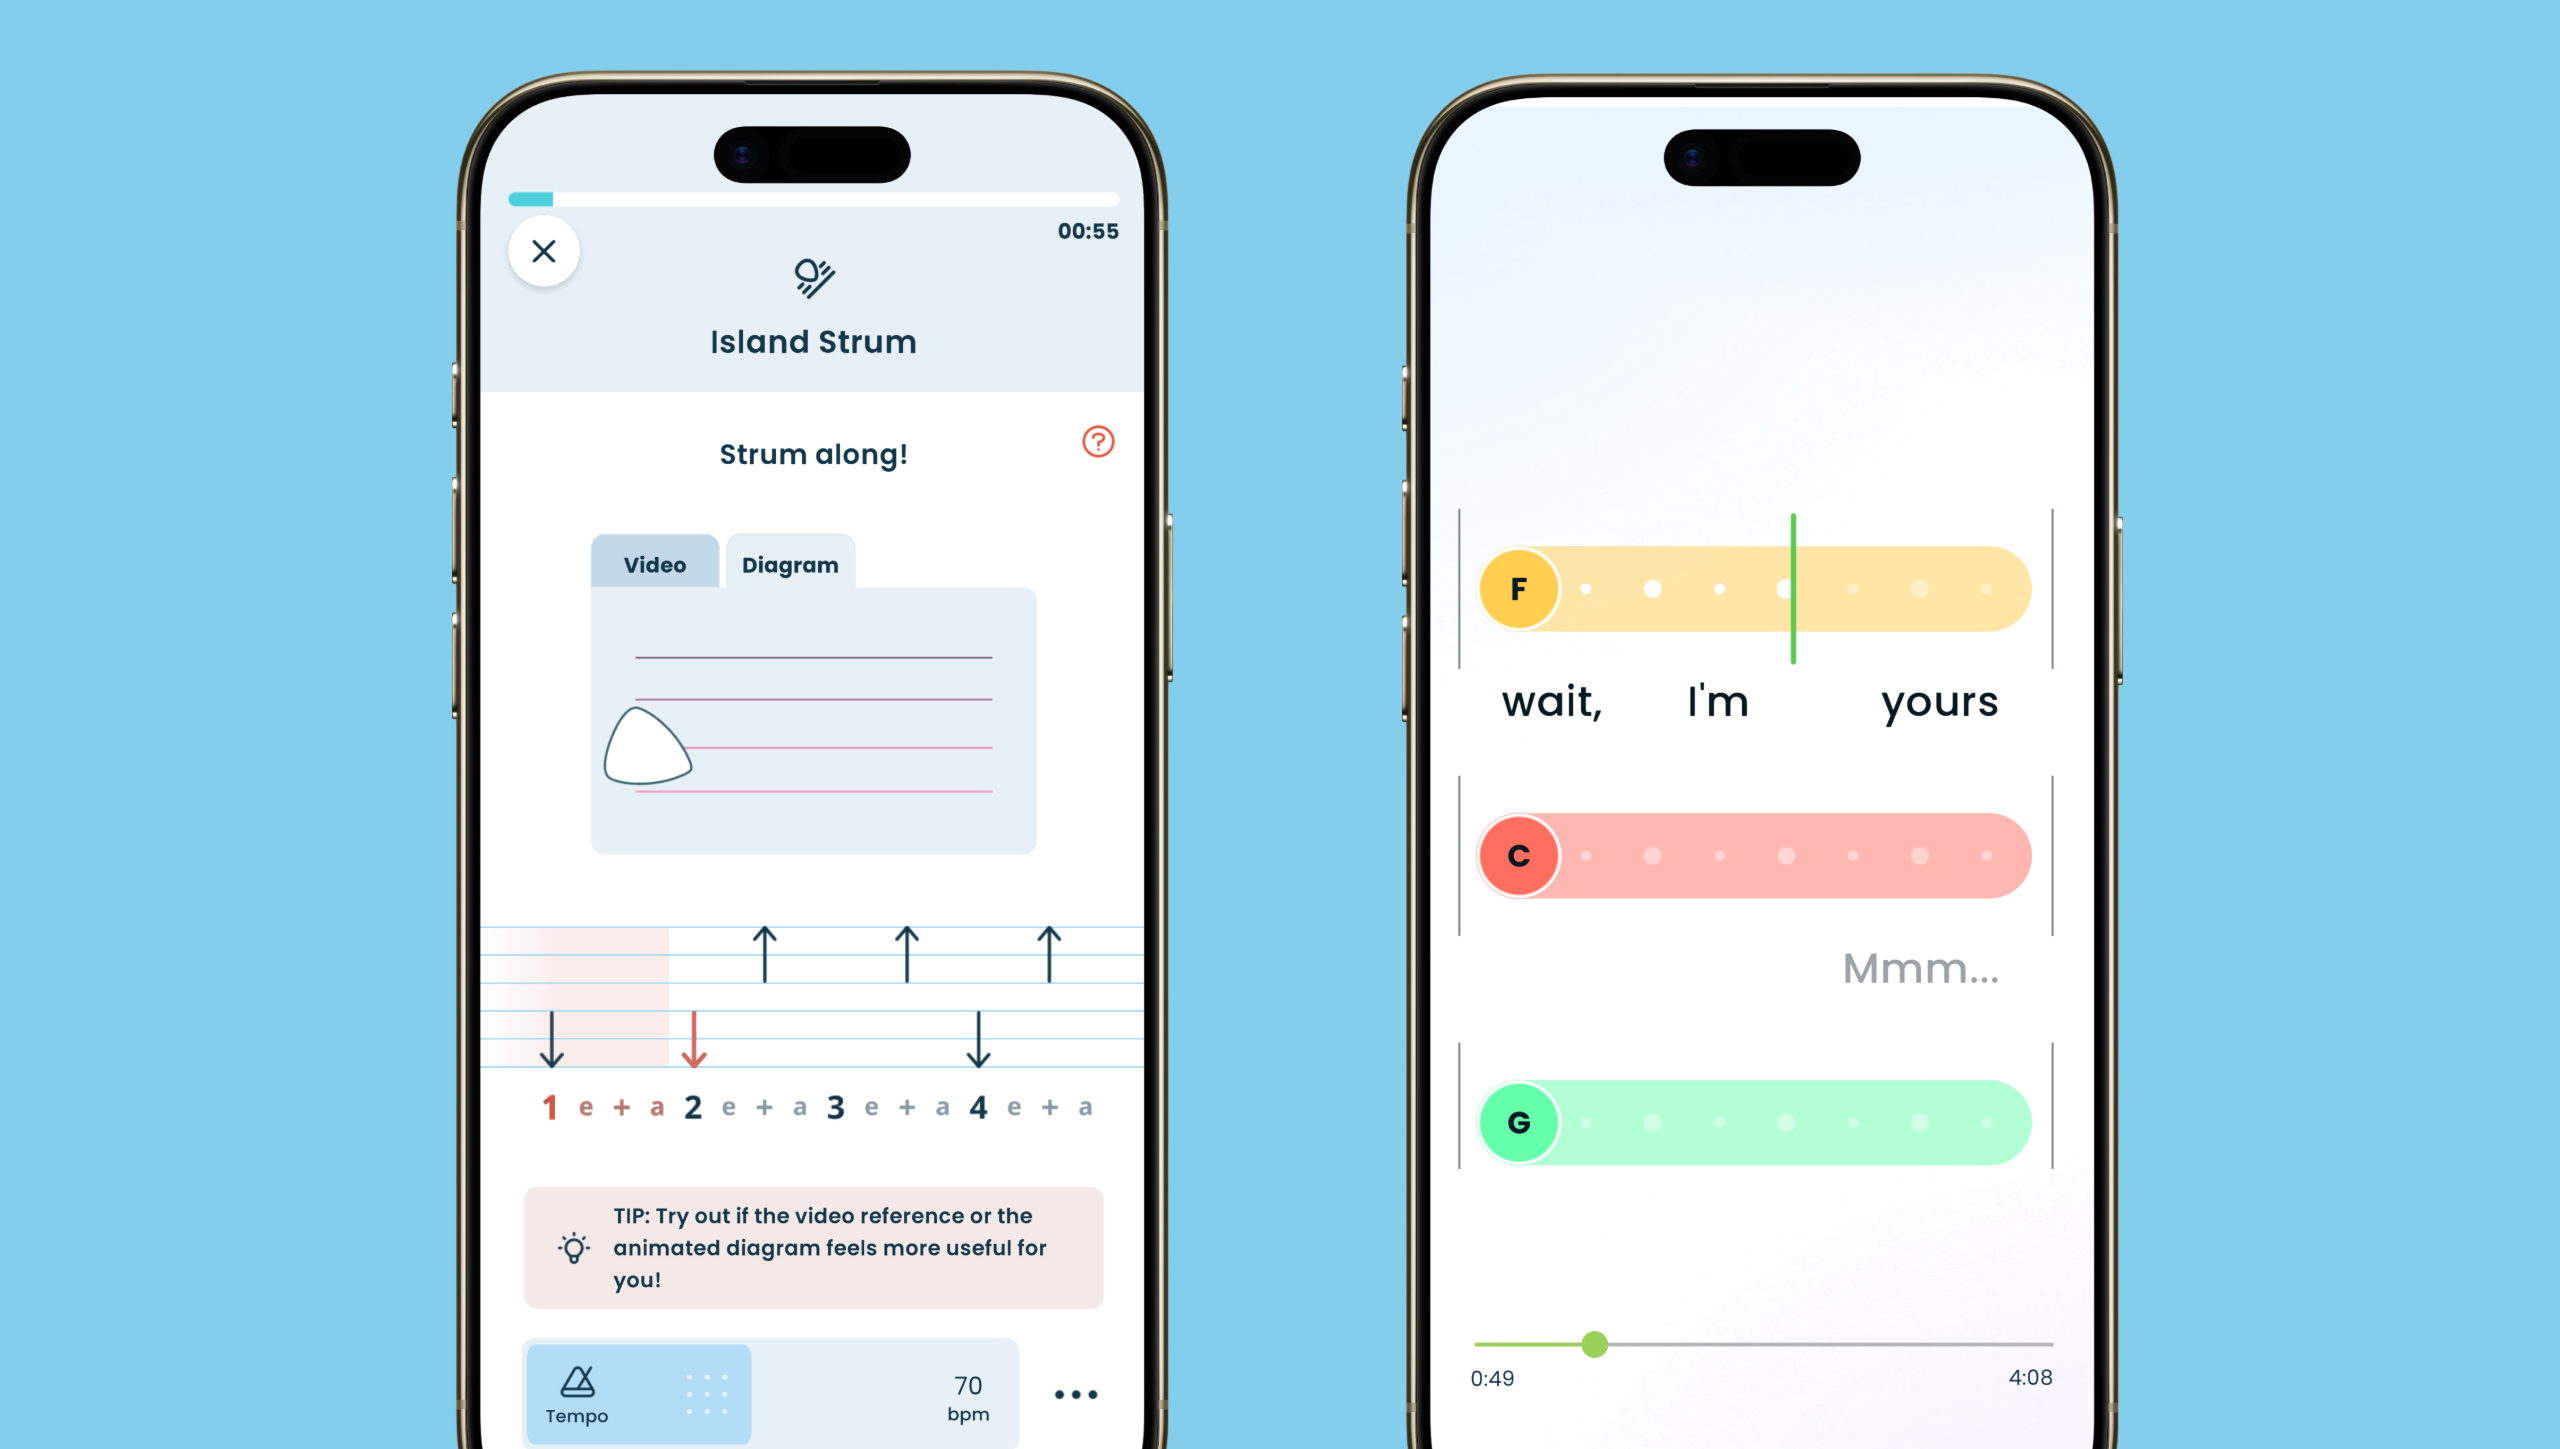
Chord changes cause strumming to fall apart because the brain cannot yet handle both tasks at once. When a chord change is late or messy, the strumming hand instinctively slows or stops to wait for the fretting hand to catch up. That pause breaks the rhythm and everything sounds wrong, even if the strum itself was fine.
The fix is to separate the two problems. Chord transitions and strumming rhythm are different skills, and trying to solve them simultaneously at full speed is the most common reason beginners stall.
Two techniques help immediately:
- The open strum trick: Just before a chord change, lift all fingers off the strings and let the open strings ring for a beat. An open strum sounds far better than a late chord, and it keeps the strumming motion going while the fretting hand repositions.
- Half-speed practice: Slow the tempo right down until the chord change feels automatic, then gradually increase it. Rushing to match the song’s full speed before the transition is clean causes more frustration than anything else in early learning.
The Kala App tempo slider lets you slow a song to 50 or 60 percent of its original speed without changing the pitch. Once a chord change feels comfortable at that pace, nudge the tempo up in small steps. The clean version at slow speed is always the goal first.
What Practice Drills Fix Choppy Strumming Fastest?
The fastest drill for fixing choppy strumming is muted-string practice: flatten your fretting hand across all four strings and strum a pattern continuously for one to two minutes. With no chord to think about, you can focus entirely on whether the strumming hand keeps moving through missed beats or stops. Most players discover their hand stops far more than they realised.
Once the hand stays in motion on muted strings, add these drills in order:
- Down strums only: Strum down on beats 1, 2, 3, and 4. Nothing else. This trains the internal clock before any complexity is added.
- Down-up on every beat: Add an upstroke after every downstroke. The hand now moves exactly as it should, continuously, at a steady pace. This is the foundation of every strumming pattern.
- Two-chord loop at half speed: Pick two chords you are working on, set the tempo slow, and loop between them while keeping the strum going. Do not stop the strum to change the chord; keep the hand moving and let the chord arrive when it is ready.
The loop feature in the Kala App is useful here; The Strum Player feature gives you visual feedback on your strumming motion, which makes it much easier to see whether the hand is actually staying in motion or quietly stopping between beats. You can also adjust the tempo according to your skill level.
When Should You Move On to Harder Strumming Patterns?
Move on to a harder strumming pattern when the current one feels automatic, when you are no longer thinking about the motion and can hold a conversation or hum the melody while strumming. If you still need to count consciously or watch your hand, the current pattern is not yet ready to be replaced.
This matters because strumming and singing use the same mental bandwidth. Once the strumming motion runs on autopilot, the brain has room to focus on lyrics, melody, and chord timing. Jumping to a complex pattern before that happens just creates two problems instead of one.
A practical test: try nodding your head to the beat while strumming. If the nod breaks your strum, the pattern is not automatic yet. If you can nod, tap a foot, or hum along without the strum falling apart, you are ready for the next level.
The progression that works for most beginners is: down strums on every beat, then continuous down-up, then the island strum (D-D-U-U-D-U), then patterns with syncopation or accents. Each step builds on the muscle memory of the last. There is no shortcut that skips a step without creating gaps later, but each step clicks faster than the one before it. If you want structured lessons to guide you through each stage, try the Kala App and work through them at your own pace. Keep going.