

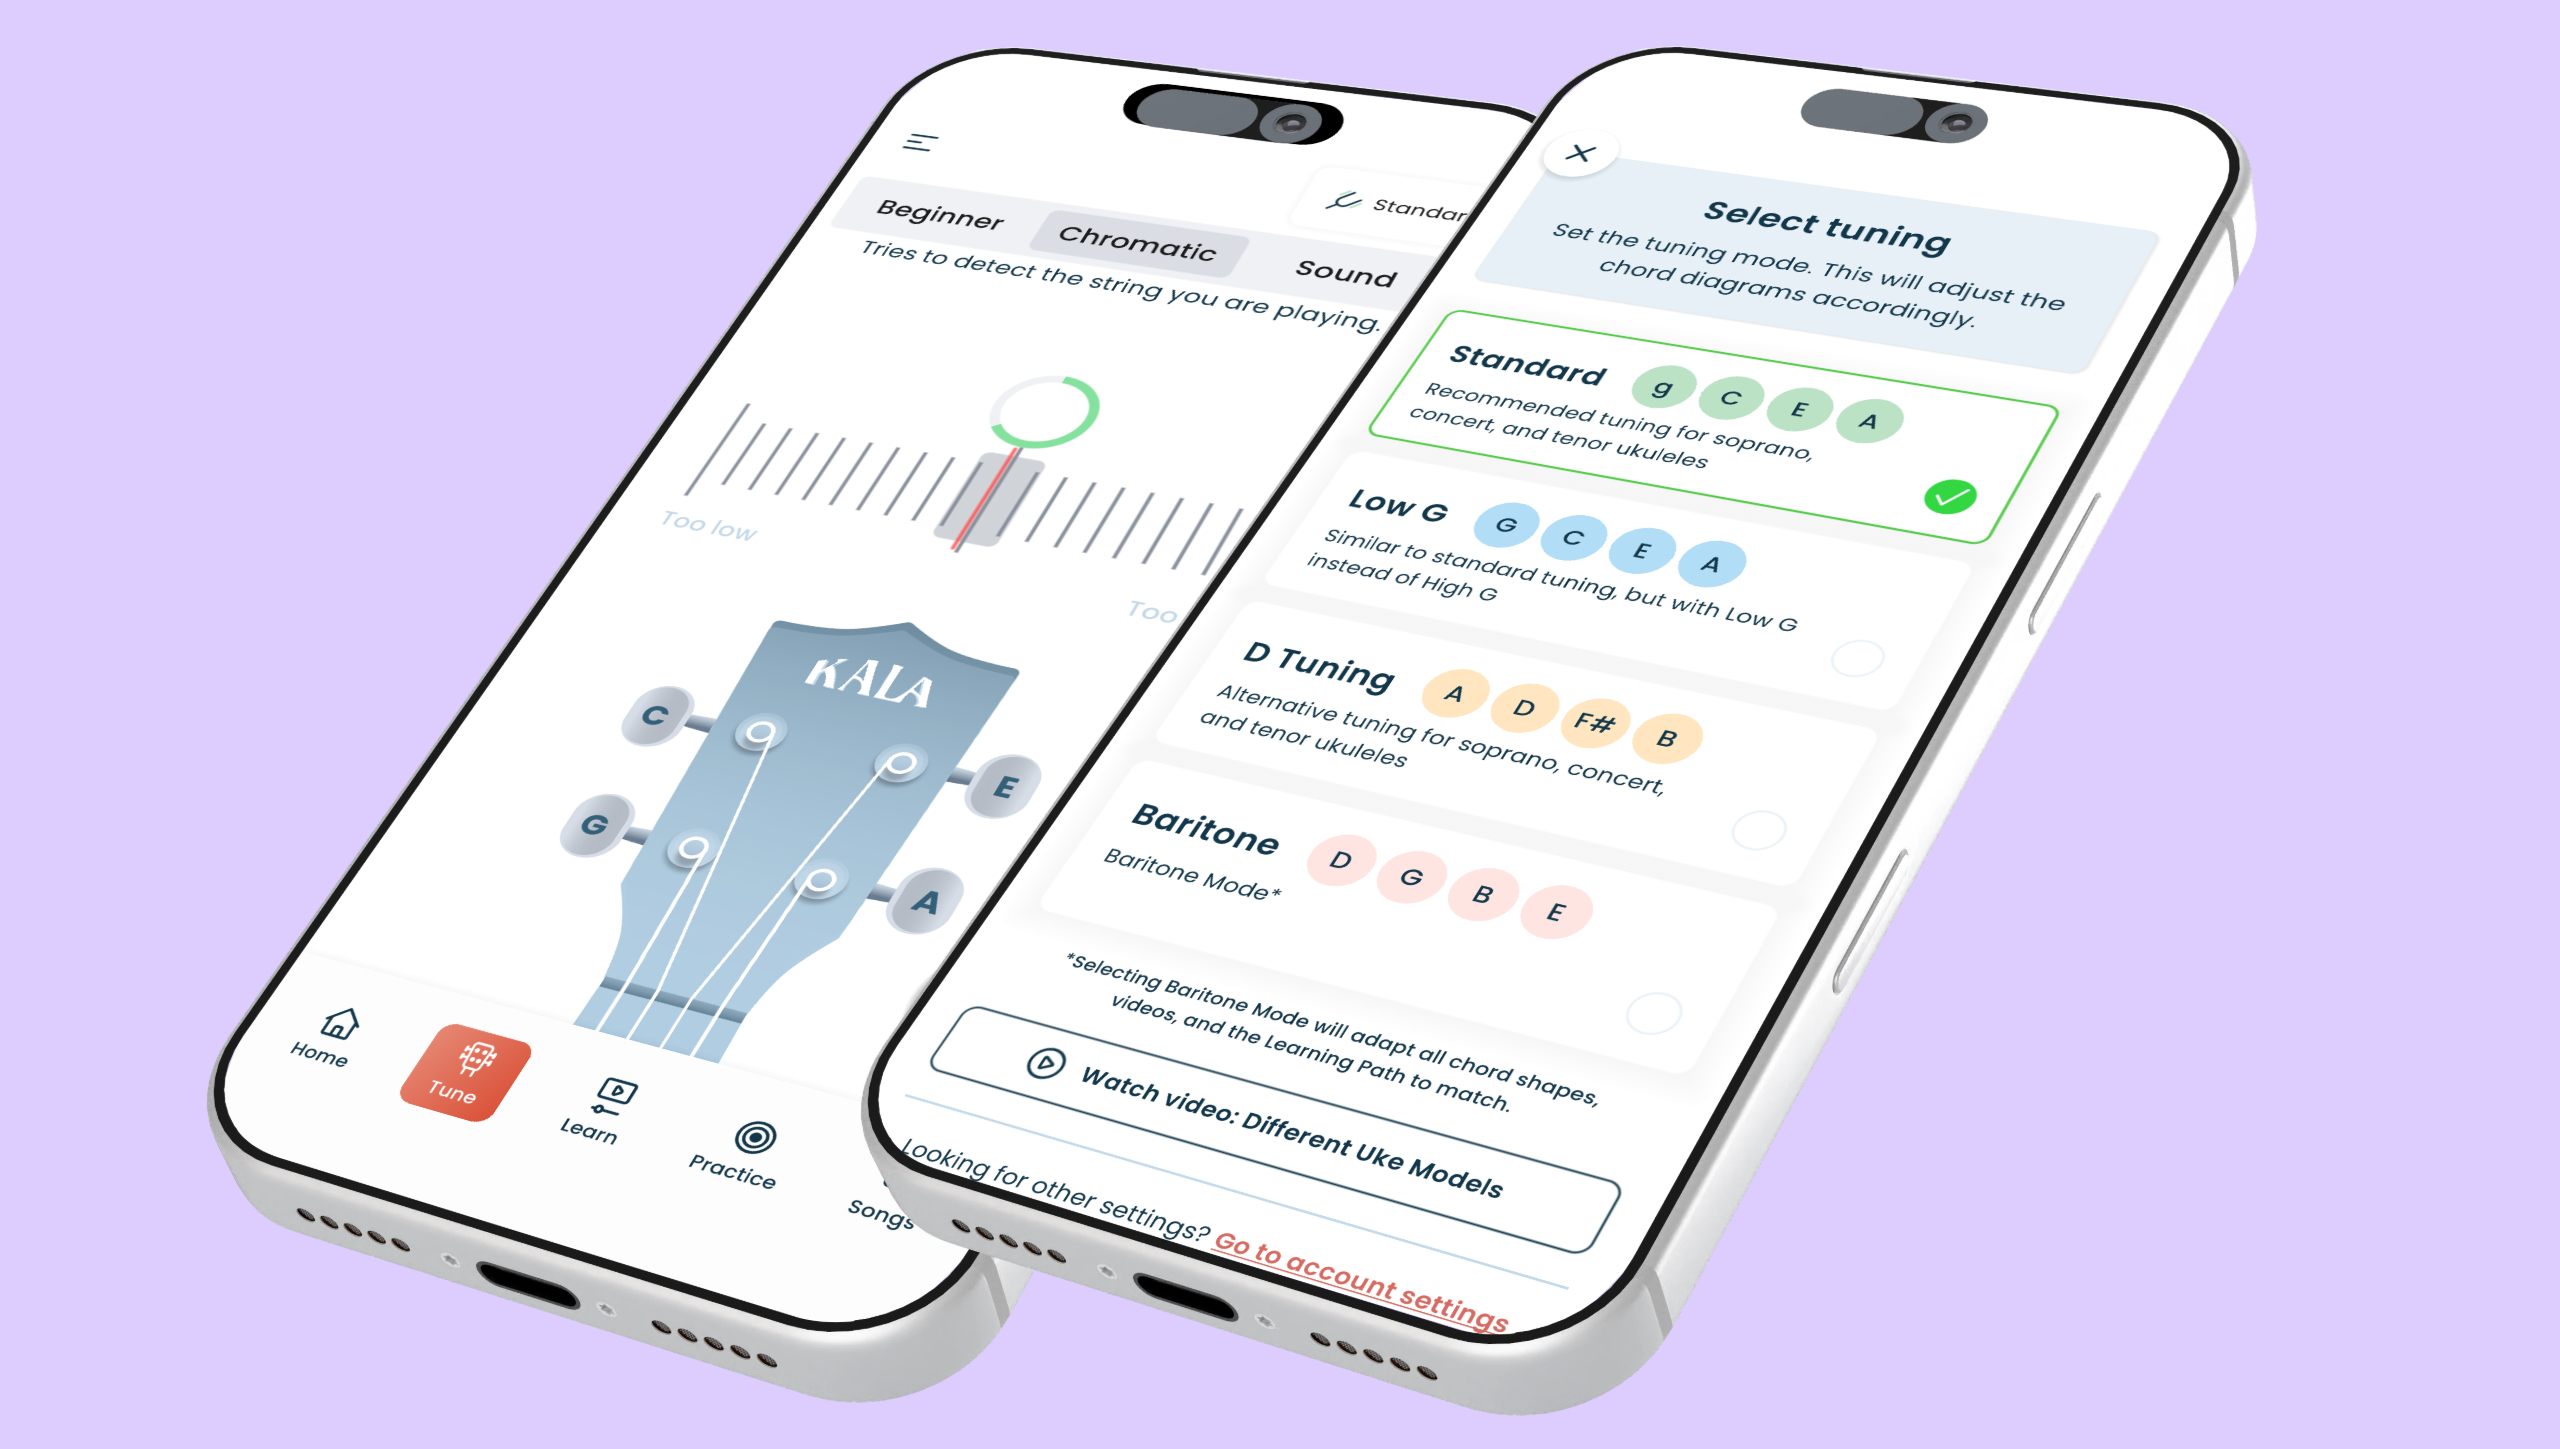
Tuning by ear is one of those skills that feels almost magical the first time it clicks. No app, no clip-on tuner, just you, your ukulele, and the ability to hear whether something sounds right. If that sounds intimidating right now, that’s completely normal. Most beginners have no idea what “in tune” is supposed to feel like yet. This guide walks you through exactly how to tune a ukulele by ear, what to listen for, and how to build the ear that makes it easier every time.
Standard ukulele tuning and reference pitches
Before tuning by ear is possible, it helps to know what you’re aiming for. Standard ukulele tuning is G-C-E-A. Those are the four open string notes, starting from the string closest to you (G) and moving to the string furthest away (A). Soprano, concert, and tenor ukuleles all use this same tuning. Baritone ukuleles are different – they use D-G-B-E, the same as the top four strings of a guitar – so if you’re playing baritone, this guide still applies, but your target notes will be different.
One thing that surprises a lot of beginners: the G string doesn’t sound like the lowest note on the instrument. On most ukuleles, the G string is actually tuned higher than the C string. This is called re-entrant tuning, and it’s part of what gives the ukulele that bright, distinctive sound. When you’re tuning by ear for the first time, knowing this helps – if your G string sounds higher than your C string, that’s not a mistake. That’s exactly right.
To tune by ear, you need a reference pitch to start from. This can come from a piano, a keyboard app, a pitch pipe, or even a single note from a tuner app like the one built into the Kala App. The idea is to get at least one string to a known, correct pitch, then use the strings themselves to tune the rest. That process is called relative tuning, and it’s what the next section covers.
How to tune a ukulele by ear using relative tuning
Relative tuning means using one correctly tuned string as a reference to tune all the others. It’s how players have been tuning stringed instruments for centuries, and it works beautifully on the ukulele once you understand which frets to use.
The method, string by string
Start by getting your C string in tune using an external reference – a piano, a pitch pipe, or a quick check with a tuner. The C string is the one with the lowest pitch, and it’s a good anchor for the whole instrument. Once that’s set, here’s how to tune the rest:
- C string to E string: Press the C string at the 4th fret. That note should match the open E string. Adjust the E string peg slowly until the two notes sound identical.
- E string to A string: Press the E string at the 5th fret. That note should match the open A string. Adjust the A peg until they match.
- A string to G string: Press the A string at the 2nd fret. That note should match the open G string. Remember – the G is higher than you might expect, so don’t be thrown off by that.
When two strings are close to matching, you’ll often hear a wavering sound – a kind of slow wobble in the tone. That wobble is called beating, and it’s actually your best friend when tuning by ear. The slower the wobble, the closer the strings are to matching. When the wobble disappears completely and the notes blend into one smooth sound, the strings are in tune with each other.
Go slowly and listen
Turn the peg slowly and listen to whether the pitch moves up or down. If it’s moving in the wrong direction, reverse the turn. There’s no need to rush this. Think of it like adjusting the temperature of a shower – small movements make a bigger difference than they look. Overshoot in one direction, come back the other way, and settle in.
Common ear tuning mistakes and how to fix them
Tuning by ear is a skill, and like any skill, there are a few places where it’s easy to go wrong at first. Knowing the common mistakes in advance means you can catch them before they send you in circles.
Tuning to the wrong octave
This one trips up a lot of beginners. When comparing two notes, it’s possible to match the right pitch but in the wrong octave – meaning one string sounds correct but an entire register too high or too low. If something sounds “almost right but weirdly off,” check that both strings are in the same octave range. The G string is the one most likely to cause this confusion because of its re-entrant tuning.
Turning the wrong peg
On a ukulele, the pegs are close together, and it’s surprisingly easy to turn the wrong one. Always pluck the string you’re trying to tune while you turn, so you can hear whether it’s actually changing. If nothing is happening, you’re probably turning the wrong peg. Stop, identify the correct one, and try again.
New strings that won’t stay in tune
If the ukulele keeps slipping out of tune almost immediately after you’ve set it, the strings are probably new. New strings stretch as they settle, which means they’ll go flat quickly and need to be retuned several times before they stabilise. This is completely normal and not a sign that anything is wrong with the instrument. Give it a few days of regular playing and tuning, and the strings will settle down.
Tuning in a noisy room
Ear tuning requires being able to actually hear the strings clearly. Background noise, music playing nearby, or a TV in the room make it much harder to hear the subtle difference between two pitches. Find a quiet spot, especially while you’re still learning to hear these differences. It makes a genuine difference.
Building the ear training skills that make tuning easier
Tuning by ear gets easier the more you do it, but there are also specific habits that speed up the process considerably. The underlying skill is called ear training – developing the ability to recognise pitches, intervals, and whether something sounds right or slightly off.
The simplest thing to do is tune your ukulele every single time you pick it up, even if it was fine yesterday. Each tuning session is a small ear training session in disguise. Over time, you start to recognise what each string is supposed to sound like before you’ve even checked it. That’s not magic – it’s just repetition building familiarity.
Singing or humming the target pitch before you play the string is another surprisingly effective technique. It forces your ear to form an expectation, and then you can hear whether the string matches it. It can feel a little strange at first, but it trains the connection between what you hear and what you expect to hear faster than passive listening alone.
Playing along with songs you know well is also one of the best ear training tools available. When you know how a melody is supposed to sound, you’ll notice immediately if your ukulele is off – even slightly. The Kala App’s library of 2,000+ songs with backing tracks gives you plenty of familiar reference points to play against, which makes this kind of passive ear training easy to build into every practice session.
It’s okay if tuning by ear feels slow and uncertain at first. Every player goes through that stage. The wobble you’re learning to listen for, the moment two strings lock into the same pitch and the sound smooths out – that moment becomes easier to hear every time. Keep at it, tune before every session, and your ear will follow.
Now go tune up and play something you love. Uke on.